
A bubble braid isn’t really a braid at all: it is a ponytail divided by evenly spaced elastics, with each section gently pulled wider to form a rounded bubble. That makes it one of the easiest statement styles for long hair, and this collection shows how far the idea can go, from a sleek ponytail with gold hair ties and a simple side bubble braid to a bubble mohawk with French-braided sides, a waterfall braid finished with bubbles and thin fishtails woven between the sections.
Bubbles suit most textures. Curly and coily hair makes full, plush sections and holds the shape well, which is why small bubble pigtails are a good fix for frizz on humid days. Fine or shorter hair can borrow volume from clip-in extensions or kanekalon, as shown in the colourful braided version here.
The main decisions are spacing and placement. Closely spaced, small bubbles look neat and detailed; wider gaps give big, dramatic bubbles. A high pony feels sporty, a low one more elegant.
1. Bubble Ponytail with Golden Hair Ties
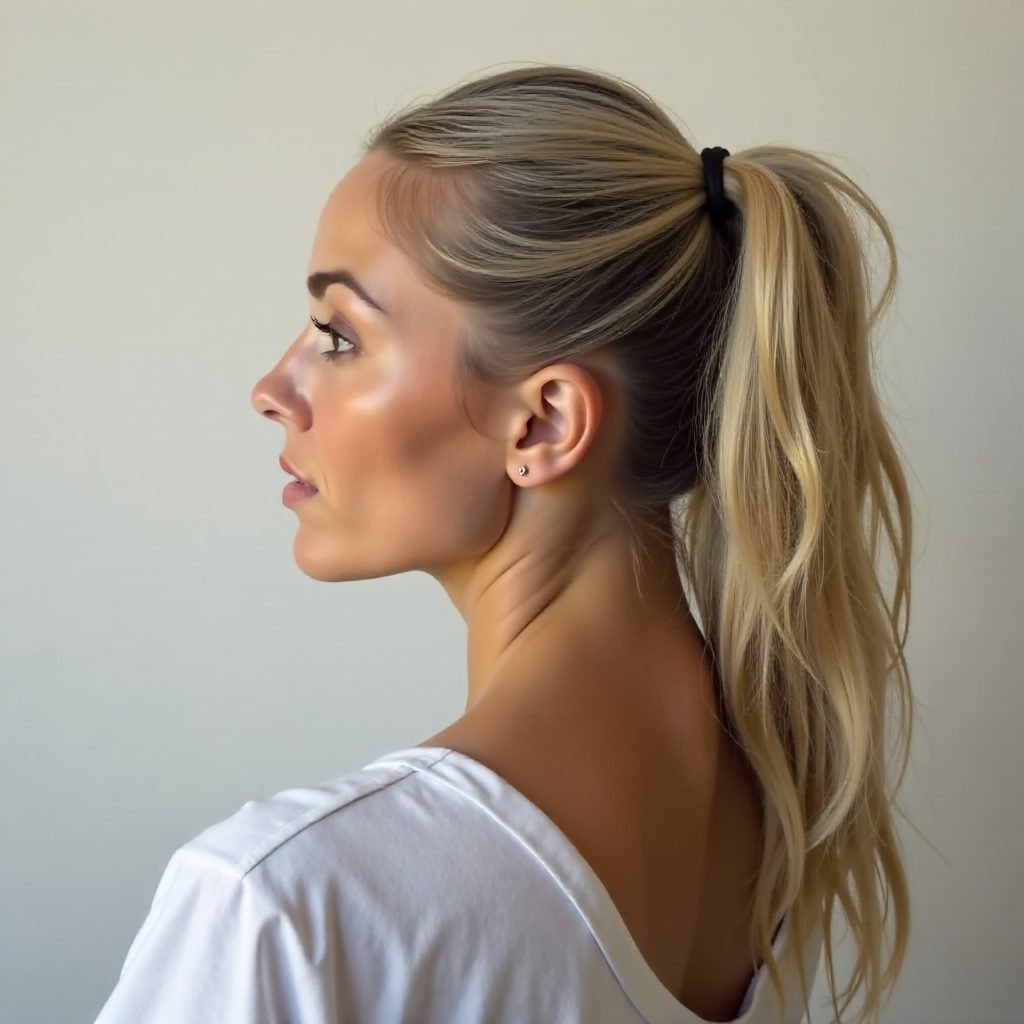
Golden hair ties turn an everyday ponytail into an elegant bubble style that fits right in at the office. Matching your jewellery to the ties pulls the whole look together. Smooth the base with a brush and a little serum first.
Inspiration: @jeanlouisdavid_meaux
2. One French Bubble Braid
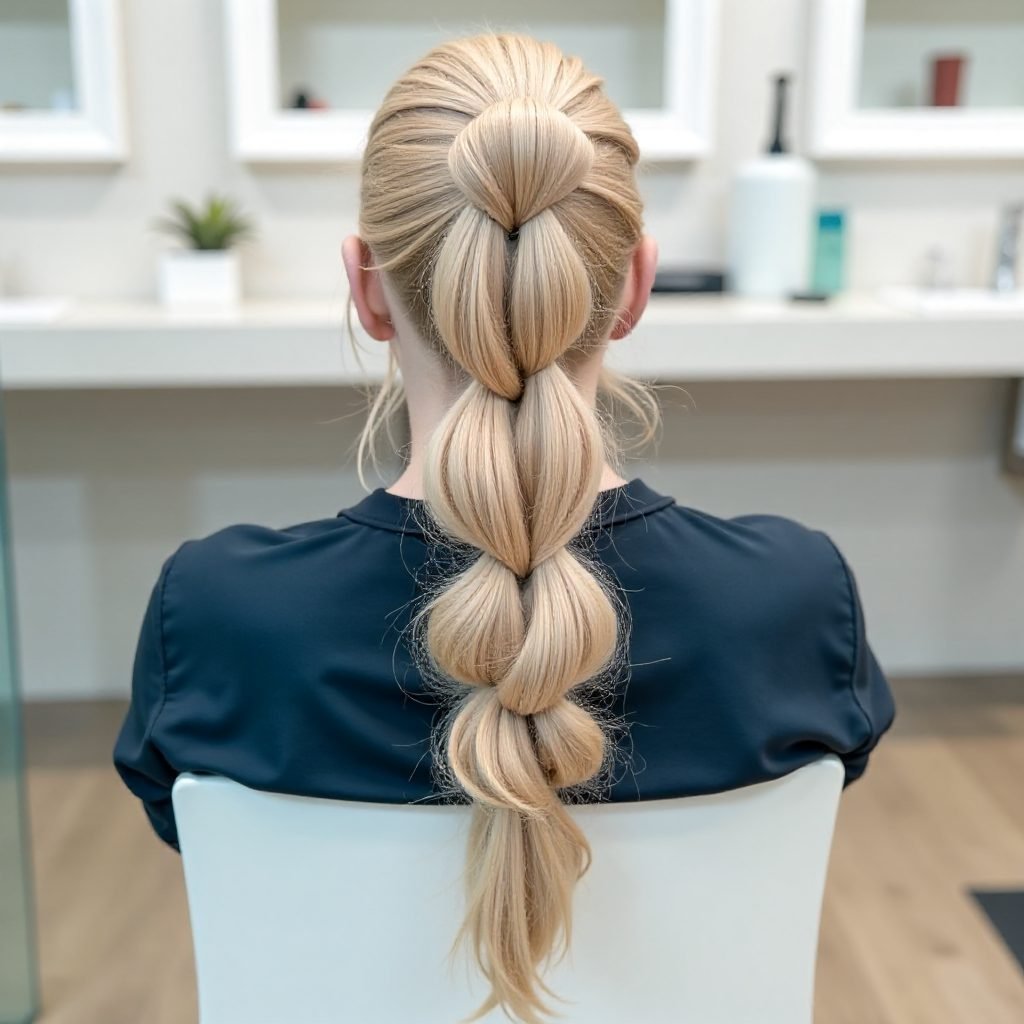
A single French bubble braid is much easier than a traditional French or Dutch braid. Section the top of the hair down the centre and form the bubbles along it like a mohawk, adding each new section as you go back.
Inspiration: @hairbyren10
3. Bubble Braid Mohawk with Braided Sides
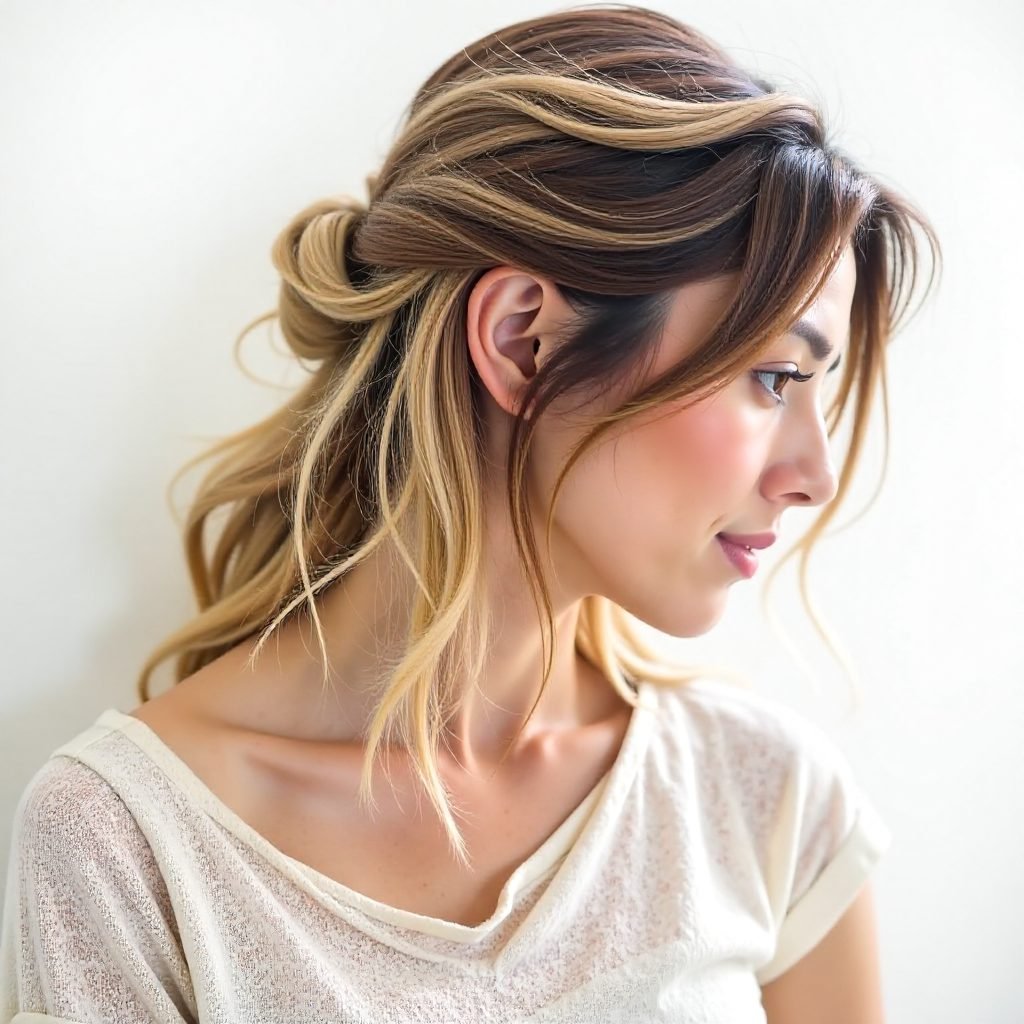
Neat French braids along each side frame a fluffy bubble mohawk through the centre. Apply a texturising product before shaping and finish with a strong-hold hairspray so the bubbles keep their full size. Leave the bubbles slightly uneven for a softer, more relaxed look.
Inspiration: @jessicamillerhair
4. Loose Double Bubble Braids

Two loose bubble pigtails with slightly messy curls have a relaxed, boho feel. It is a low-effort way to turn second-day hair into a party look. Pull the bubbles wide and leave a few strands out around the face.
Inspiration: @nia_hairstyles_
5. Small Bubbles on Curly Hair

Small bubble pigtails start as flat bubble braids close to the scalp, keeping curly hair tidy and frizz-free on rainy days. Use elastics matching your hair colour so the bubbles stand out rather than the ties.
Inspiration: @trulee
6. High Bubble Ponytail
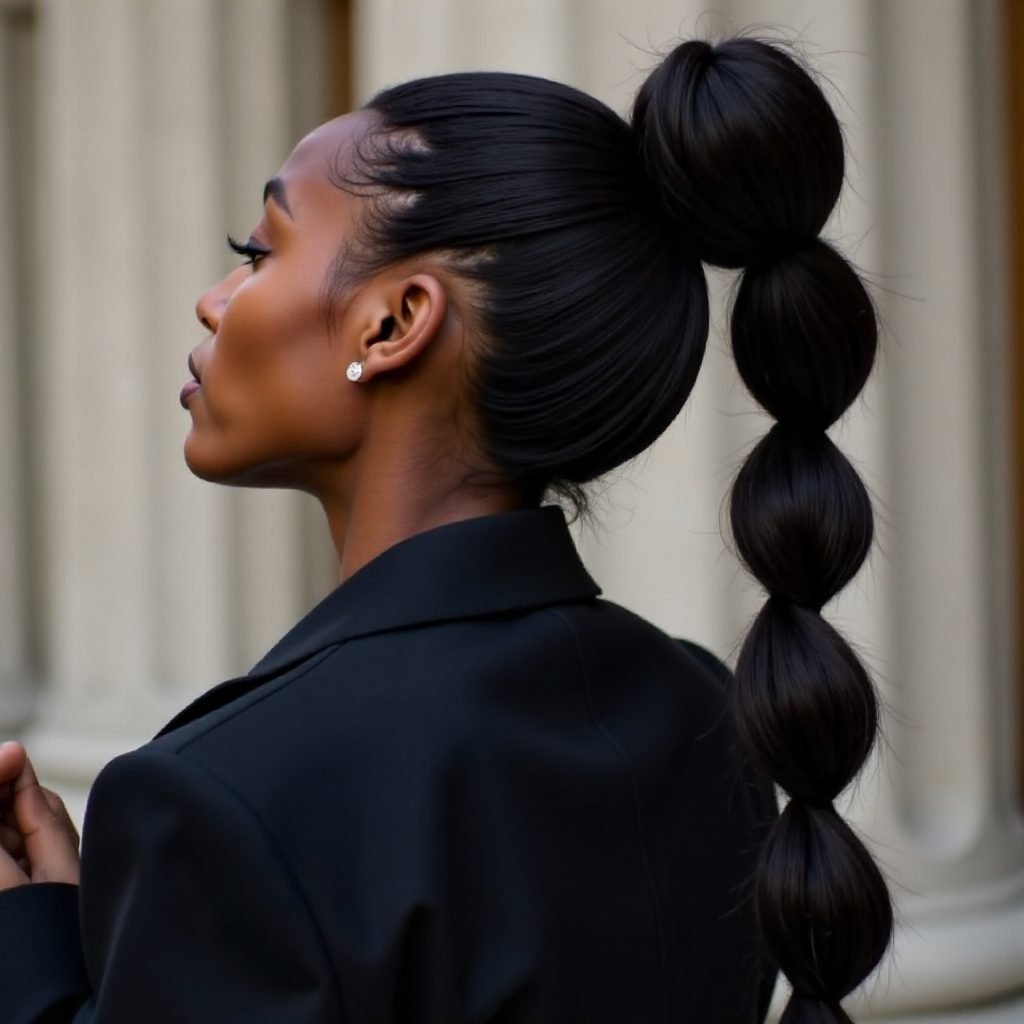
A high bubble ponytail on natural hair adds a fresh spin to a classic look. Adding extensions makes the bubble braid extra long and dramatic. Sleek the base with edge control and a soft brush.
Inspiration: @jasmine.chanel_
7. Special Occasion Bubble Braid Hairstyle

A front braid, curly face-framing pieces and a gentle bump at the crown combine with a bubble ponytail for an elegant party updo. The mix of textures makes it suitable for weddings or formal dinners.
Inspiration: @hairbyannalea
8. Easy Side Braid

All the hair is brought to one side and tied with elastics about two inches apart, then each section is pulled outward. It is one of the easiest styles for long hair, and a middle part with face-framing layers completes it.
Inspiration: @d.loweh
9. Fun Kanekalon Hair Idea
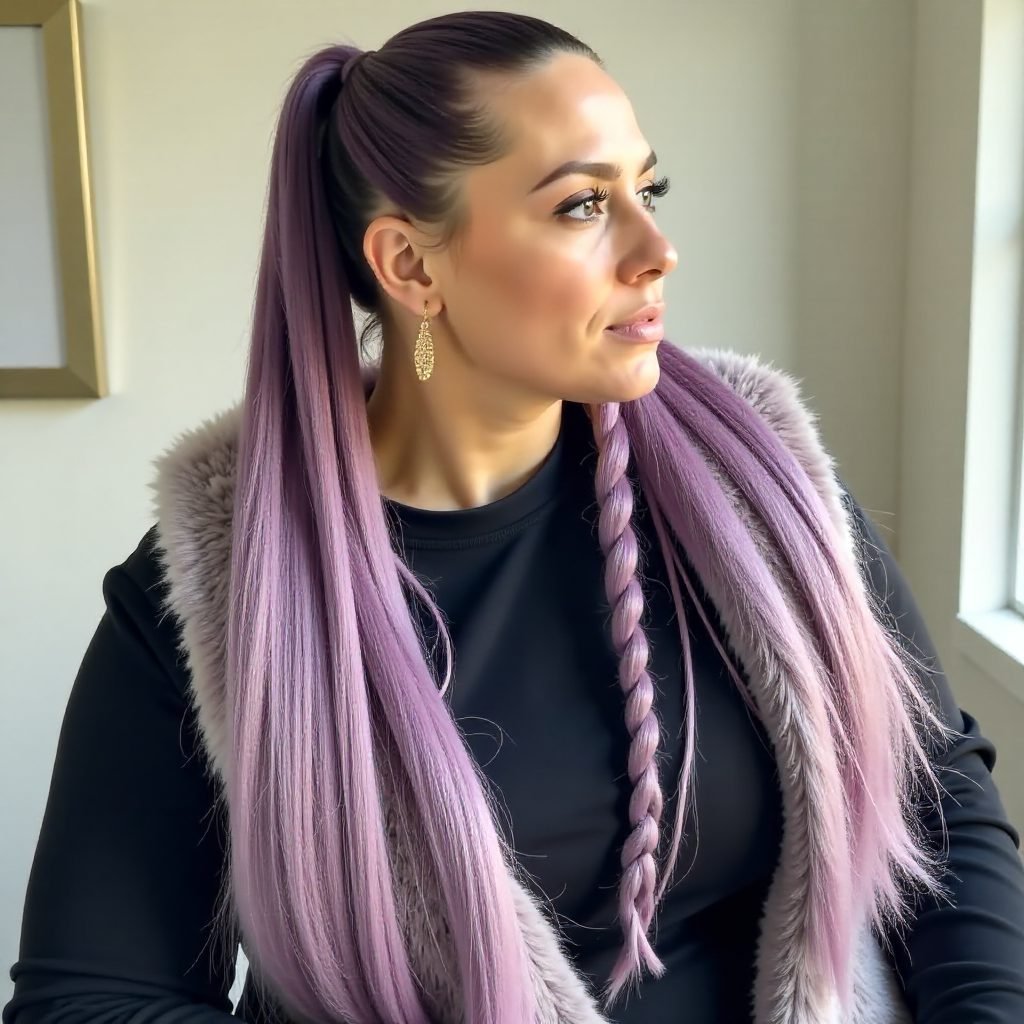
Colourful kanekalon is braided into bubble pigtails for a fun, creative look. Extensions or kanekalon are a great solution if your own hair is not long or thick enough for a bold bubble braid. Kanekalon is lightweight and holds the bubble shape very well.
Inspiration: @_beautymark_
10. Waterfall Braid into Bubble Pony
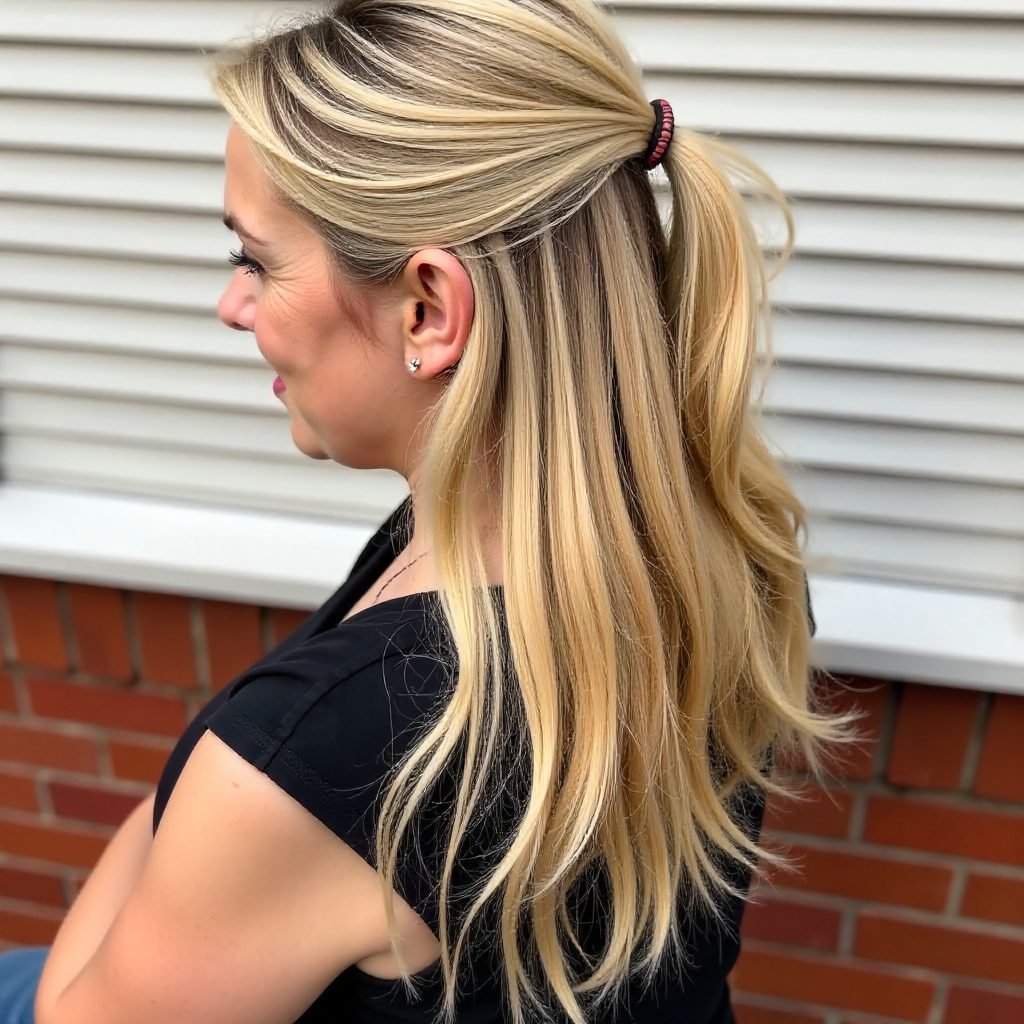
A waterfall braid across the head leads into a bubble ponytail in a chic half-up style. Once you have mastered the waterfall braid, adding bubbles to finish is simple. Curl the loose lengths below for a soft, romantic finish that suits weddings.
Inspiration: @bri.danae_beauty
11. Chic Low Bubble Ponytail
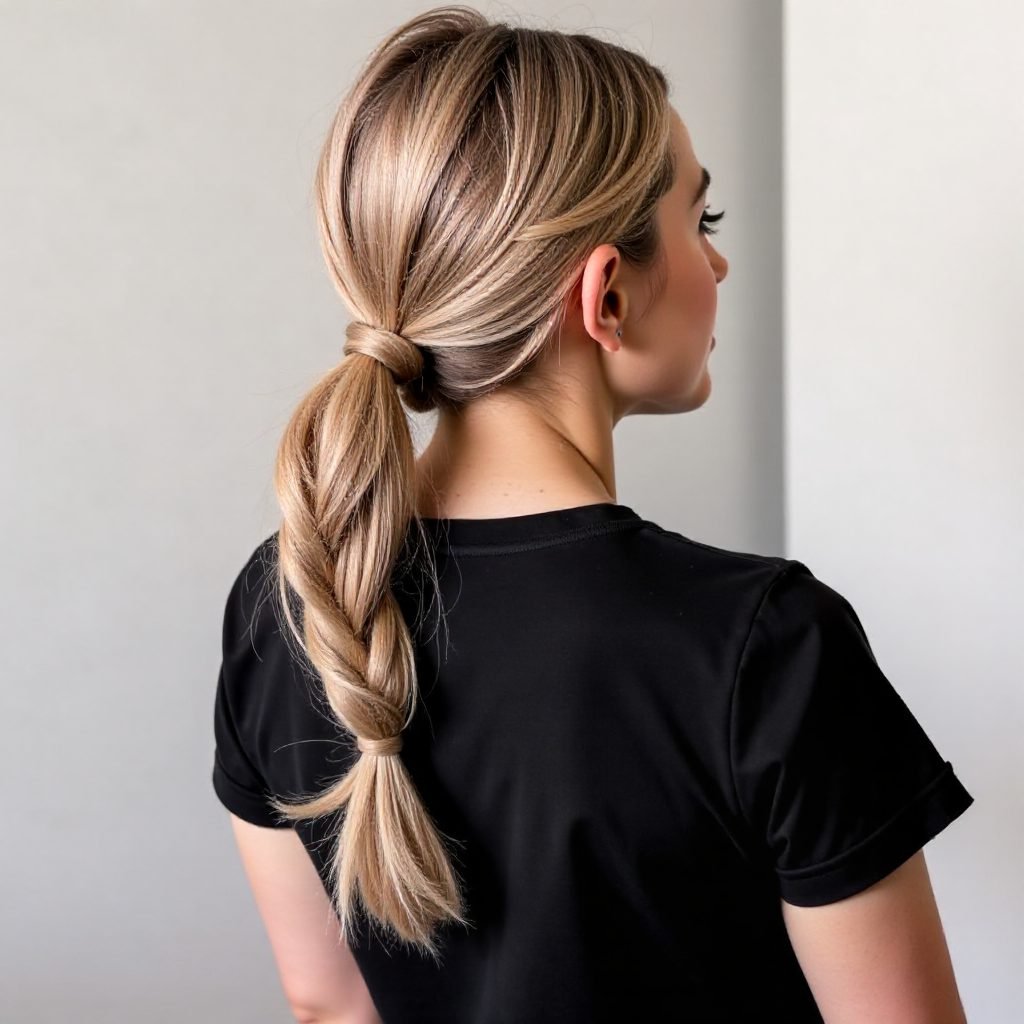
An elegant low bubble ponytail is polished with hair wrapped around each elastic to hide it. Curl the ends of the ponytail and any loose tendrils for a refined, finished look. A shine serum along the lengths gives the bubbles a polished look.
Inspiration: @missysueblog
12. Scrunchies all the Way
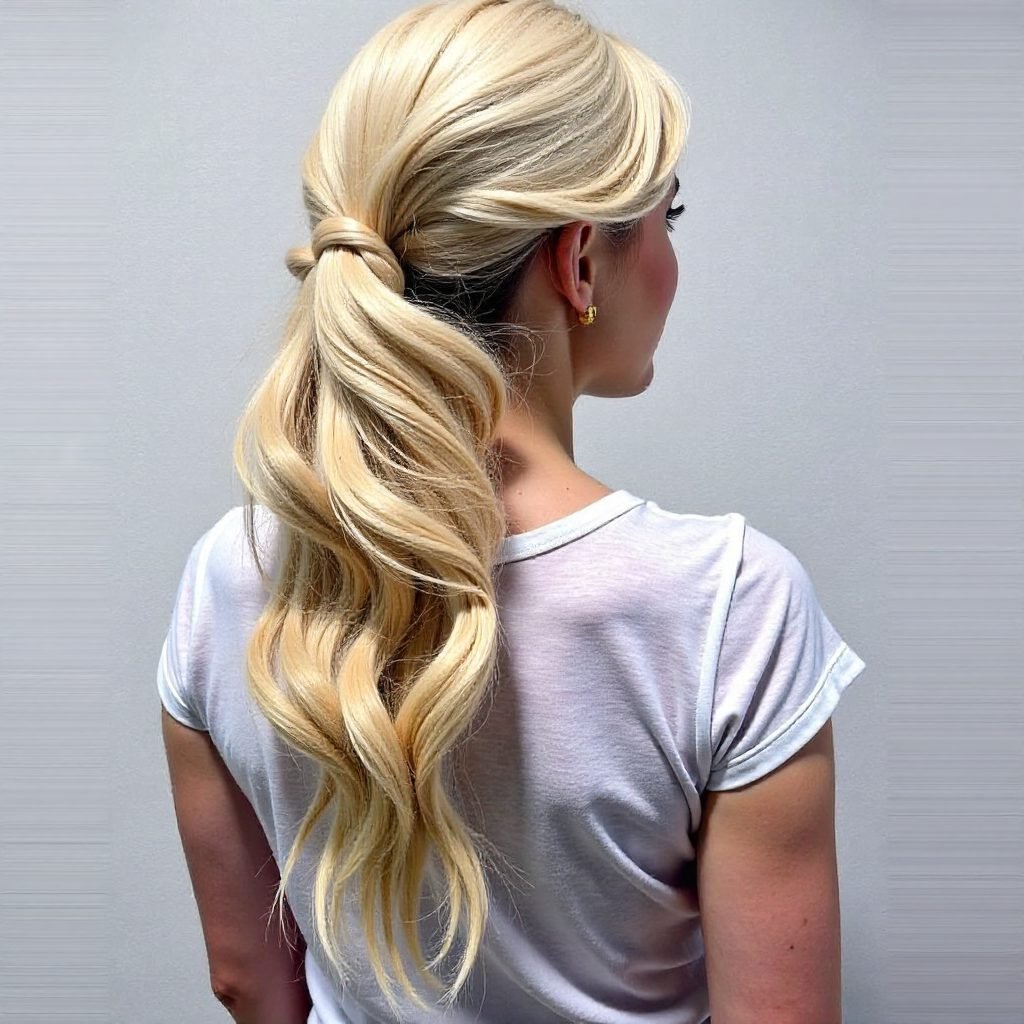
Messy bubbles separated by scrunchies channel the eighties revival. Scrunch salt spray into the hair for texture, then add scrunchies between sections. The result looks full of volume and very photogenic. Choose velvet or satin scrunchies to reduce snagging on textured hair.
Inspiration: @michaelgrayhair
13. Creative Face Framing
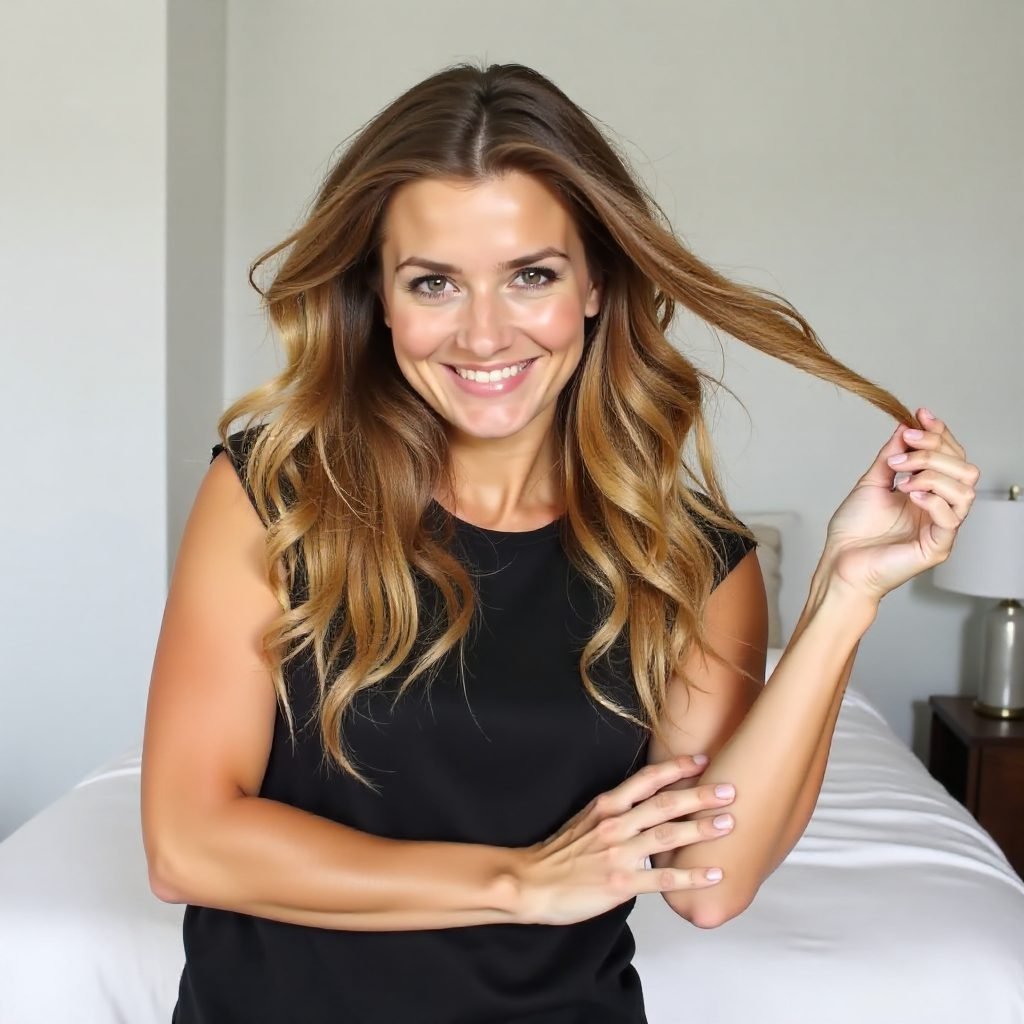
Two small bubble braids frame the face and highlight a middle part, much like a money piece. The style opens up the face and plays into current trends. Use clear elastics to keep the focus on the bubbles.
Inspiration: @michaelgrayhair
14. Two Kinky Bubble Ponytails
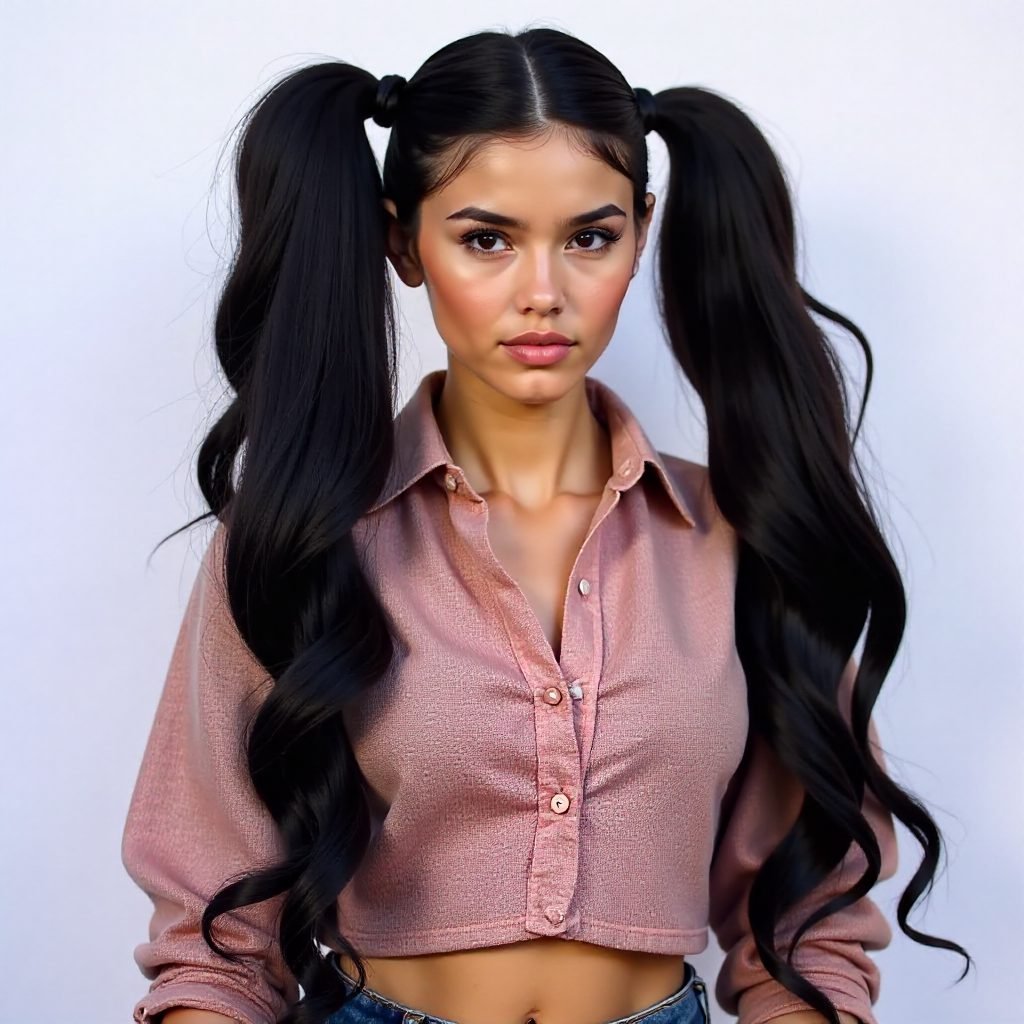
Hair is sleeked into two buns before continuing into kinky ponytails shaped into large bubbles, an impressive look for natural hair. Ponytail holders are more comfortable than regular ties for shaping thick bubbles. Moisturise the coils before sleeking them back to reduce frizz.
Inspiration: @_ciara.chanel
15. Thin Fishtails on Bubbles
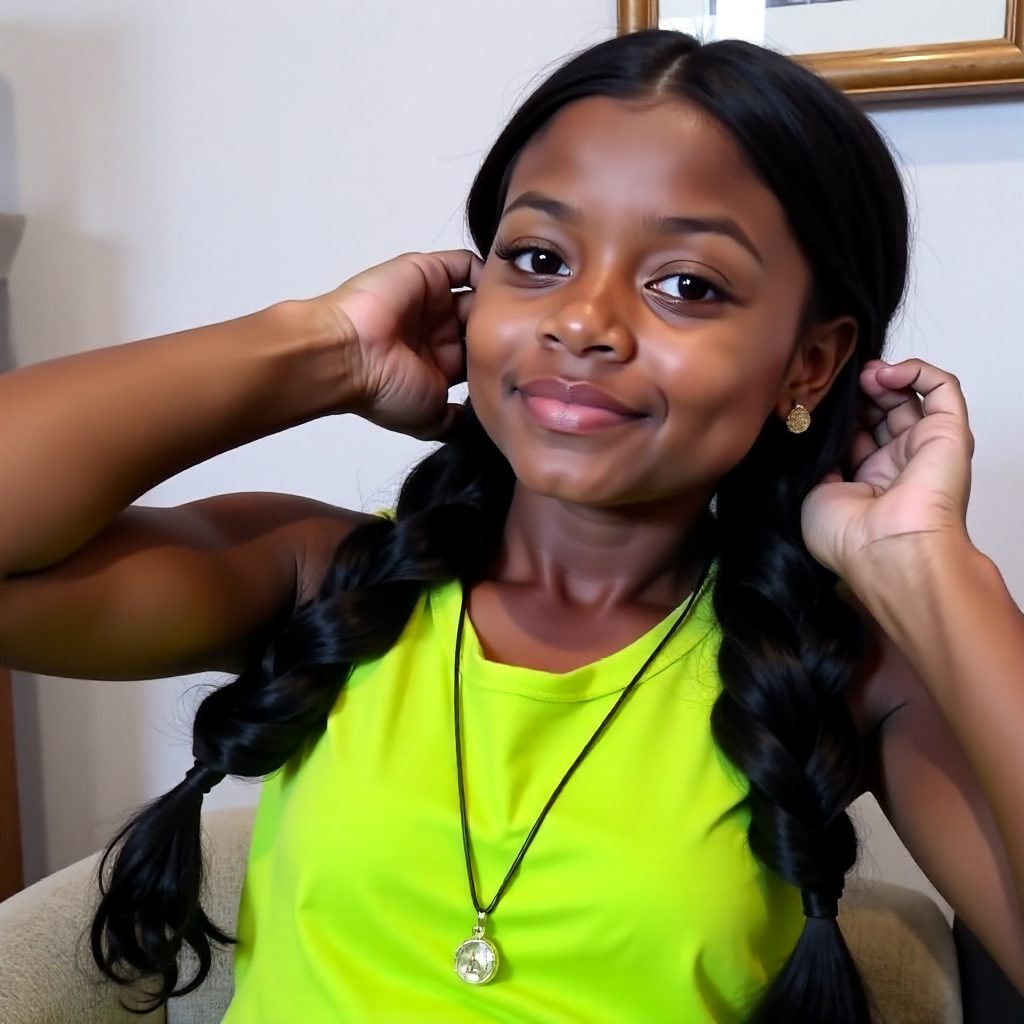
Thin fishtails sit on top of bubbles in these intricate pigtails. After each tie, split the hair into two strands, fishtail the top one, stretch the section beneath into a bubble, secure it and repeat down the length.
Inspiration: @sara_hairstylista
How to make a bubble braid step by step
- Brush hair smooth and tie a ponytail at your chosen height; wrap a strand around the elastic to hide it if you like.
- Add the next elastic about one to two inches down the ponytail.
- Gently tug the hair between the two elastics outward with your fingertips to create a rounded bubble.
- Repeat down the length, keeping gaps even, and leave a short tail at the end.
- Mist with a texturising spray before pulling the bubbles and finish with a strong-hold spray.
Choosing the right elastics
Clear or hair-coloured elastics make the bubbles the focus, while metallic ties, cuffs or mini scrunchies turn them into a decorative feature. Snag-free fabric bands are kinder to curly and coily hair, and soft ponytail holders are more comfortable than rubber bands for thick sections. Remove elastics carefully by cutting or sliding them out rather than pulling, to avoid breakage.