
Most of the styles people book salon appointments for can be done at home with a bit of practice. This gallery collects easy step-by-step tutorials, including a twisted crown half updo that takes under five minutes, a pull-through braid ponytail, a messy French twist, a high braided crown, a messy mermaid braid and an upside-down braided bun.
Many of these work across lengths. The half-up fishtail suits medium as well as long hair, and the low braided updo is designed for shoulder-length hair. Others, like the side fishtail and mermaid braid, look best on long hair. Second-day or air-dried hair is ideal for most of them because a little grip makes braids and twists hold better.
Each style has a different mood. The crossover ponytail and rope twist bun are relaxed weekend looks, the fishtail and crown braid are polished enough for weddings and proms, and the half-up faux-hawk is a bold statement. Start with the simpler twists and braids, then move on to Dutch and fishtail techniques once your hands are comfortable.
1. Twisted Crown Braid Tutorial
This twisted crown half updo takes under five minutes and works brilliantly on second-day hair. It is simple enough for every day yet polished enough for special events. A light spray keeps the twists secure.
2. Pull Through Braid Tutorial
A pull-through braid is made with elastics rather than traditional plaiting, so you control how full or sleek it looks. Pull the sections apart for volume or keep them tight for a neater finish. It is great for ponytails.
3. Half-Up Fishtail Tutorial
Though it looks intricate, this half-up fishtail is one of the easier braids to master. It works on long and medium hair alike. Loosen the braid slightly for a softer, romantic feel. Texturising spray helps the small fishtail sections stay in place.
4. Messy French Twist Tutorial
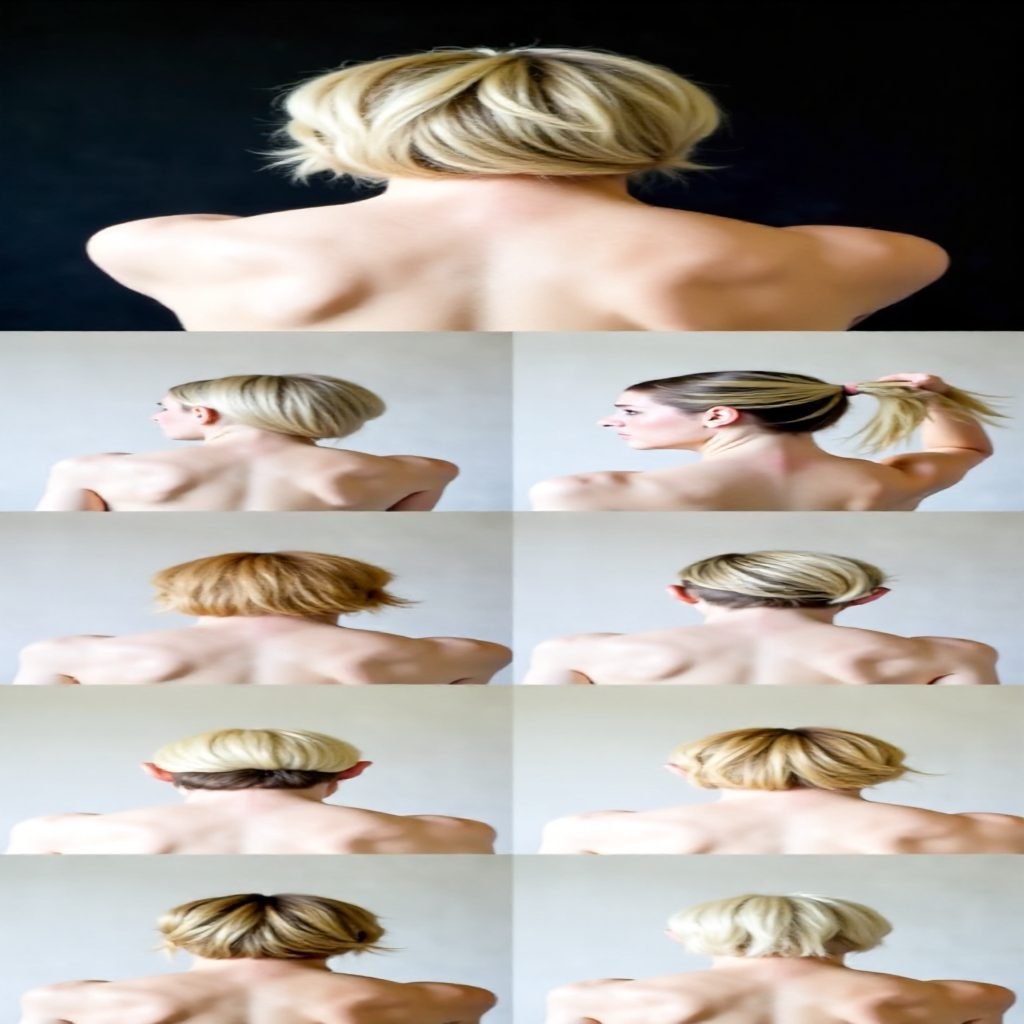
A messy twist on the classic French roll adds a modern twist. It works best on air-dried hair that you don’t comb through. Pin the roll securely and pull out a few strands for texture.
5. Braided Low Hairdo
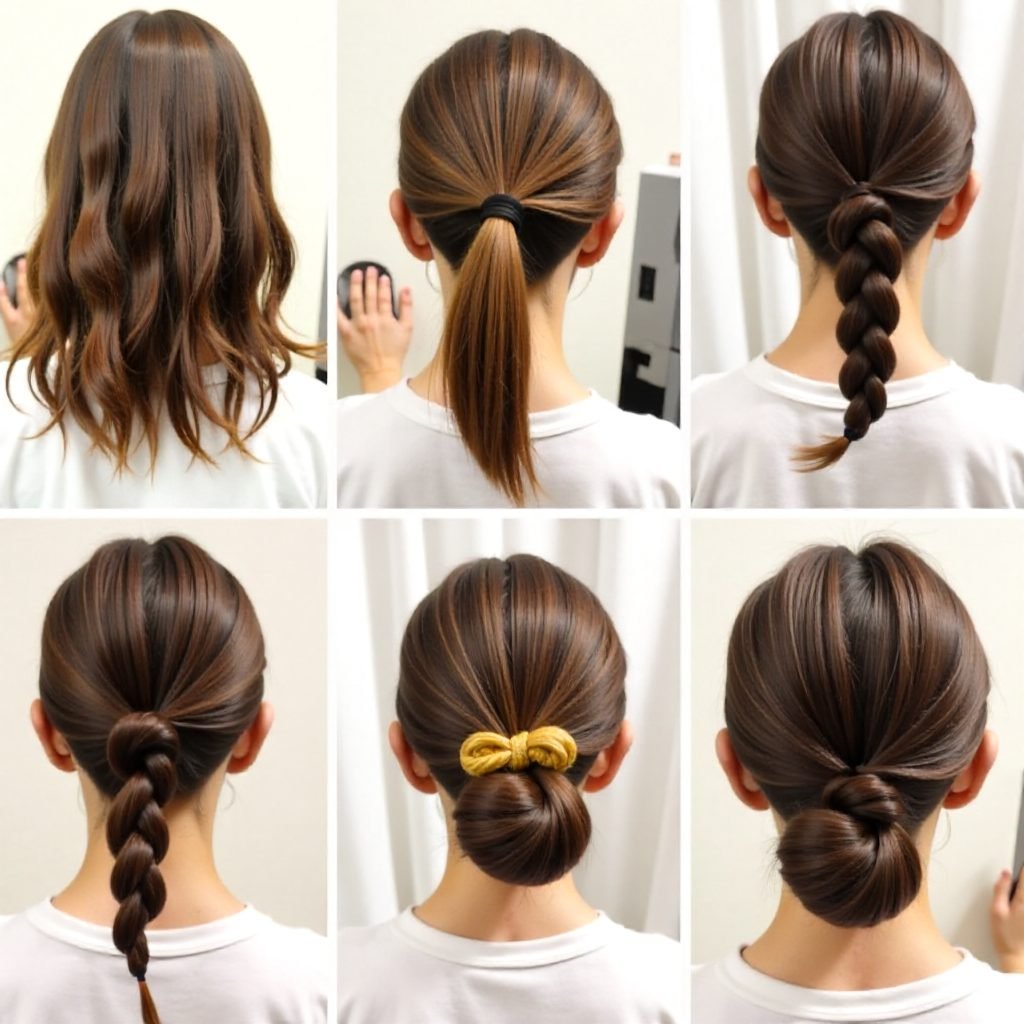
A simple braid forms the base of this quick low updo for shoulder-length hair. It looks put together without taking much time. Tuck the braid under and pin it neatly. Second-day hair makes the braid easier to hold and less slippery.
6. Messy Bun Tutorial
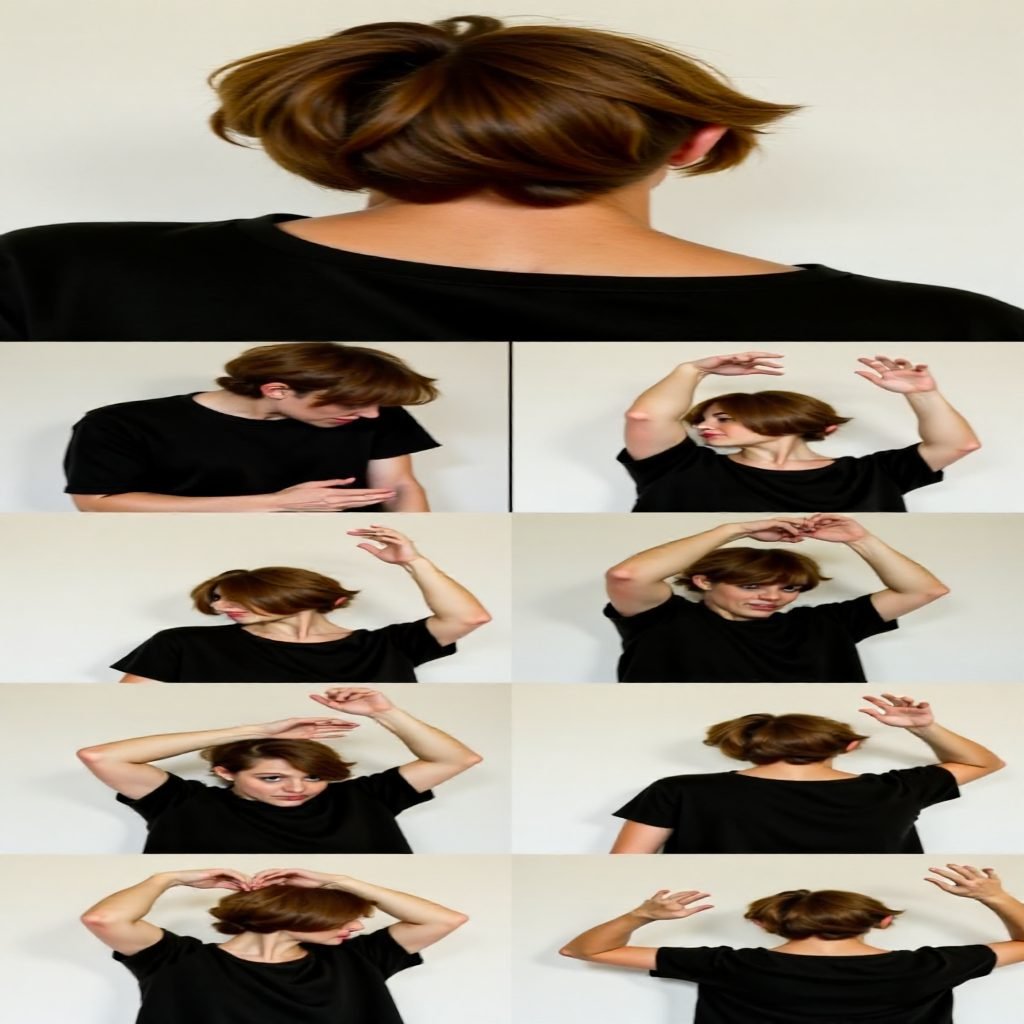
The messy bun is one of the most popular styles but can be tricky to get right. Following these steps makes achieving that effortless cool easy. Tease the base slightly for volume. Wrap the bun loosely and pin it rather than winding it too tightly.
7. Messy Crossover Ponytail Tutorial
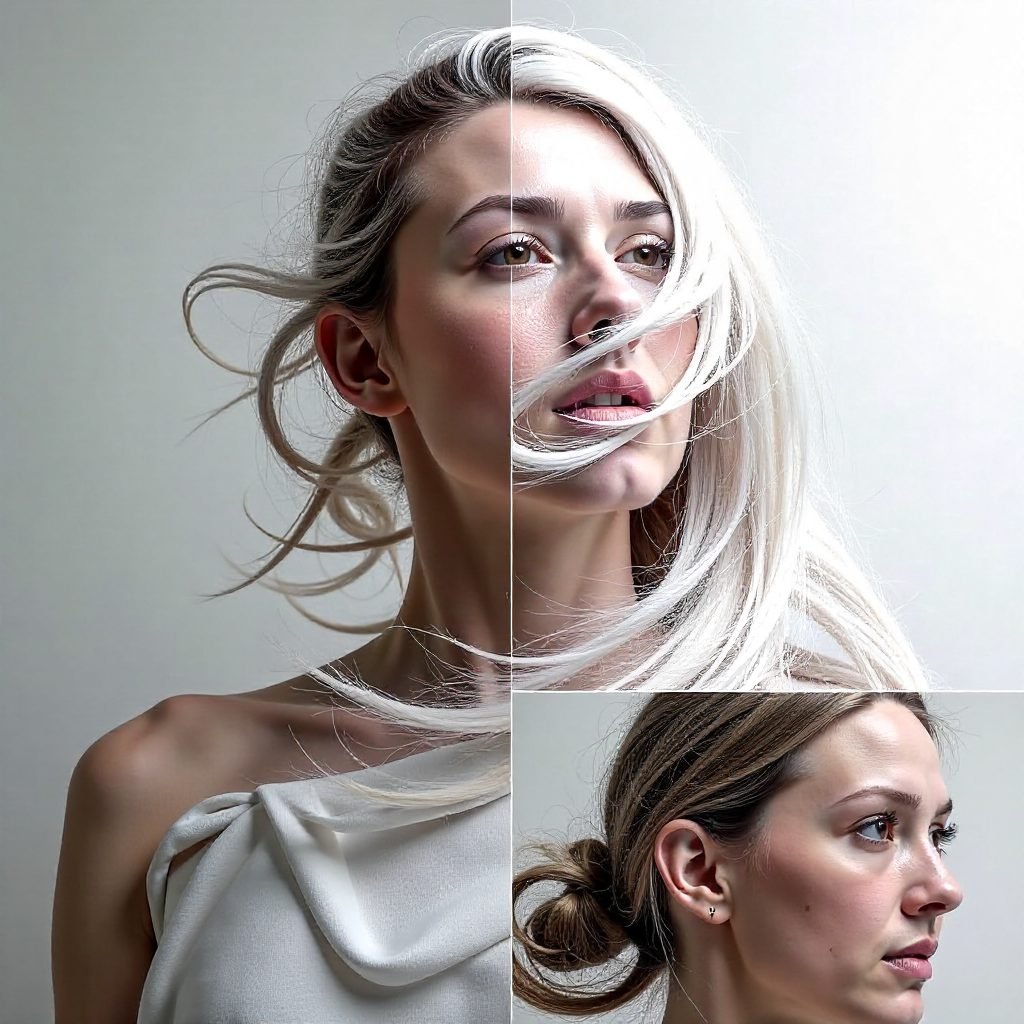
A messy crossover ponytail turns a trend into a relaxed weekend look. It is quicker than a formal updo and ideal for errands or casual outings. Pull out a few loose pieces for softness. Crossing the two sections before tying adds subtle detail.
8. Fishtail Braid Tutorial
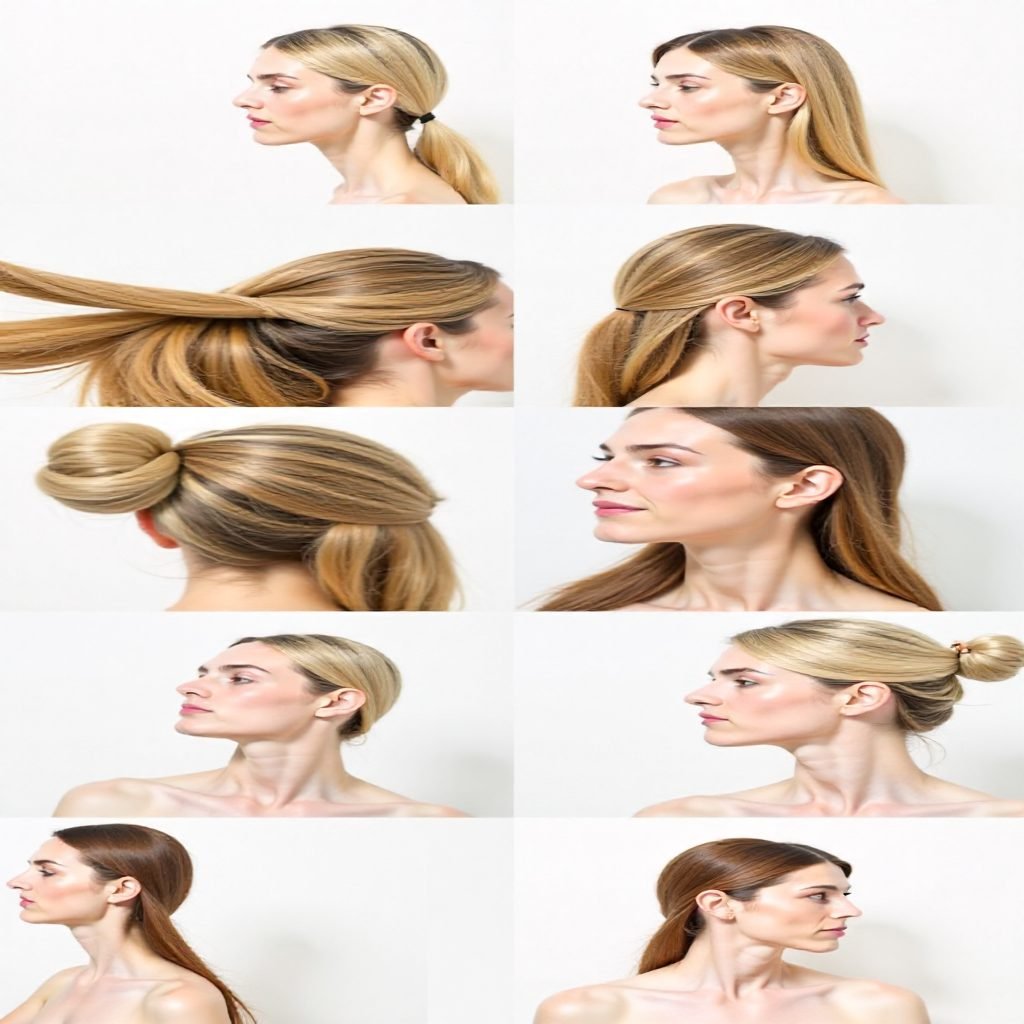
A sleek side fishtail never goes out of style and is ideal for weddings, proms and events. Smooth the hair first with a serum. Secure the end with a clear elastic. Practise the two-strand technique slowly before trying it on yourself.
9. High Braided Crown Tutorial
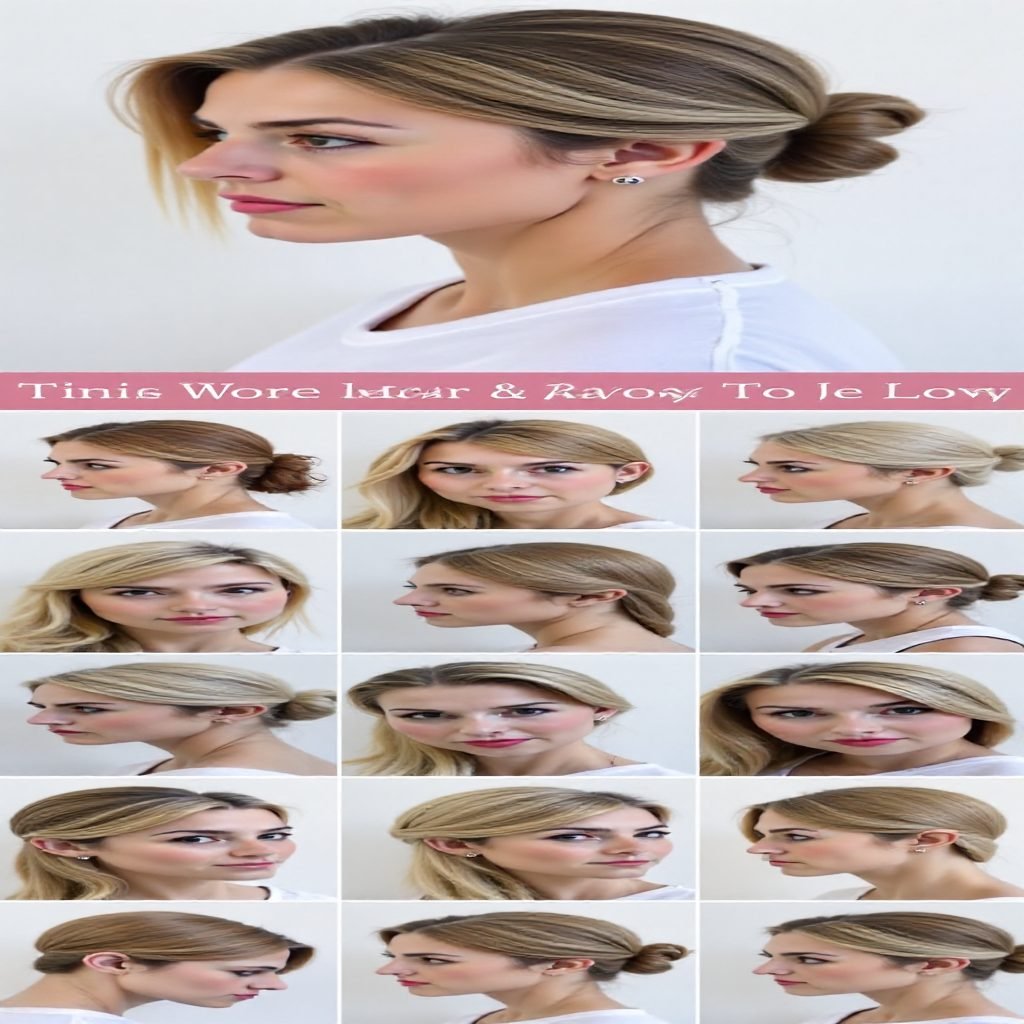
A Dutch braid woven into a high crown makes a sophisticated wedding hairstyle. It looks unique and polished. Pin the ends under the braid for an invisible finish. Start the braid behind one ear and work around the head for an even crown.
10. Half-Up Braided Crown Tutorial
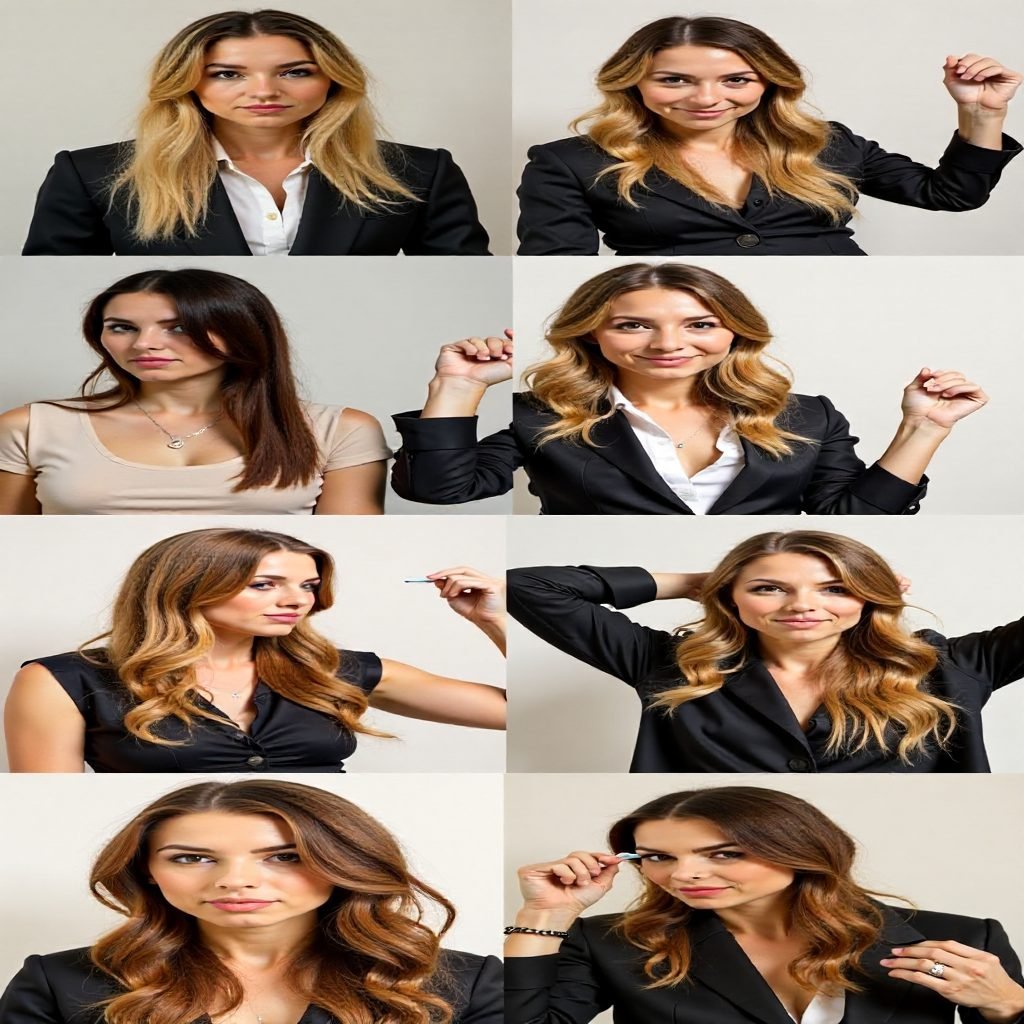
A half-up braided crown is less common but easy to follow. It gives a romantic, feminine look that suits dates and evenings out. Curl the loose lengths for extra softness. Pancake the crown braid gently so it looks fuller and more romantic.
11. Bohemian Side Braid Tutorial
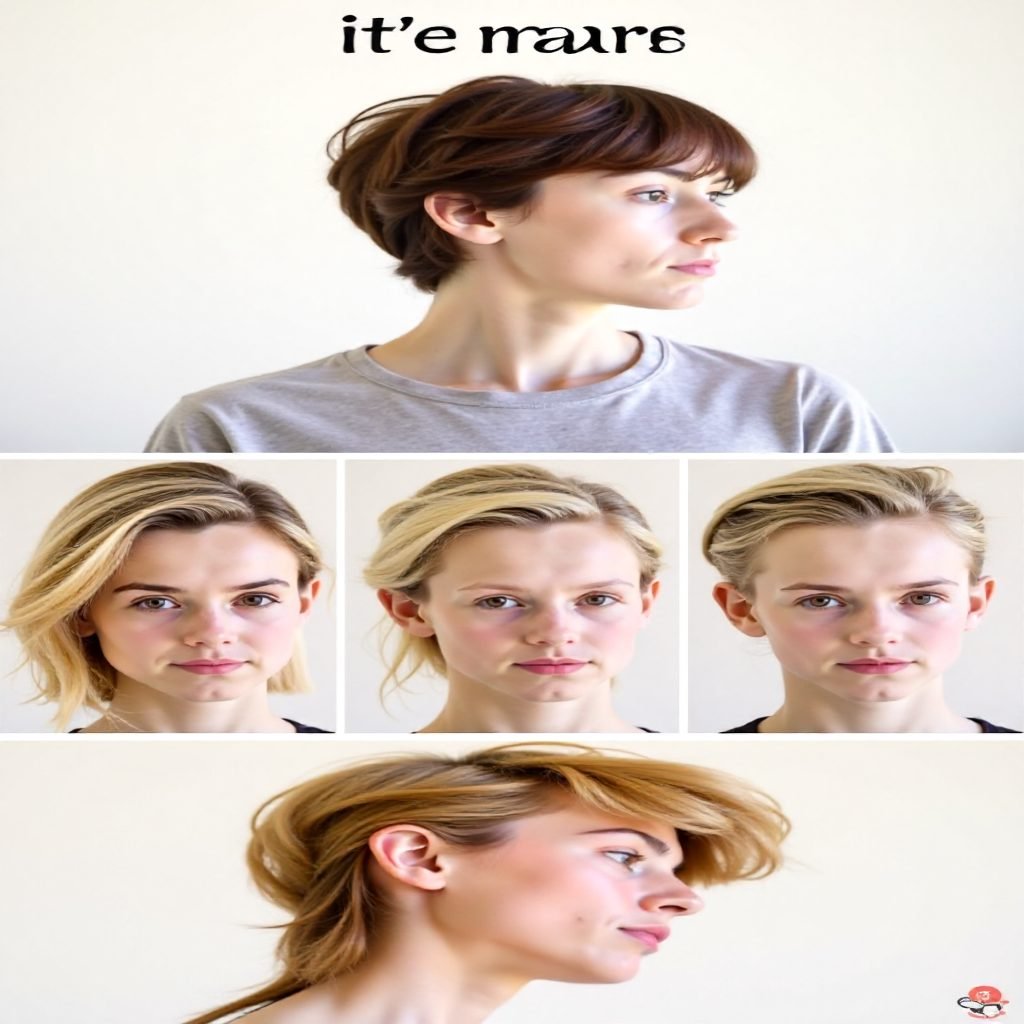
A loose side fishtail brings out a bohemian spirit and suits low-fuss long hair. Keep the braid relaxed and slightly messy. Add a flower or small accessory for festival style. Mist with sea salt spray first so the braid has extra grip and texture.
12. Half Up Faux-Hawk Tutorial
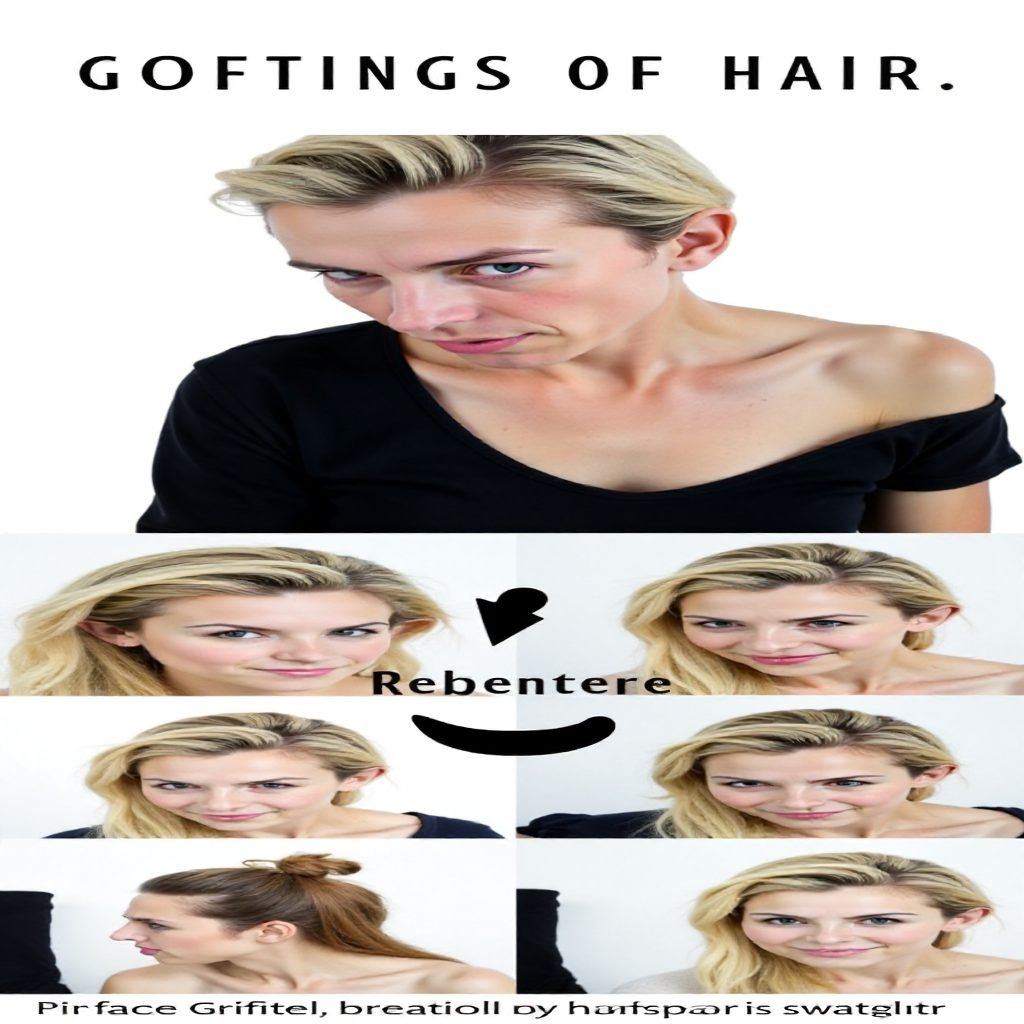
A braided faux-hawk mixes masculine and feminine elements for a statement look. It is not an everyday style but perfect when you want impact. Secure the braids tightly along the centre. Tease the top lightly for added height before braiding.
13. Rope Twist Bun Tutorial
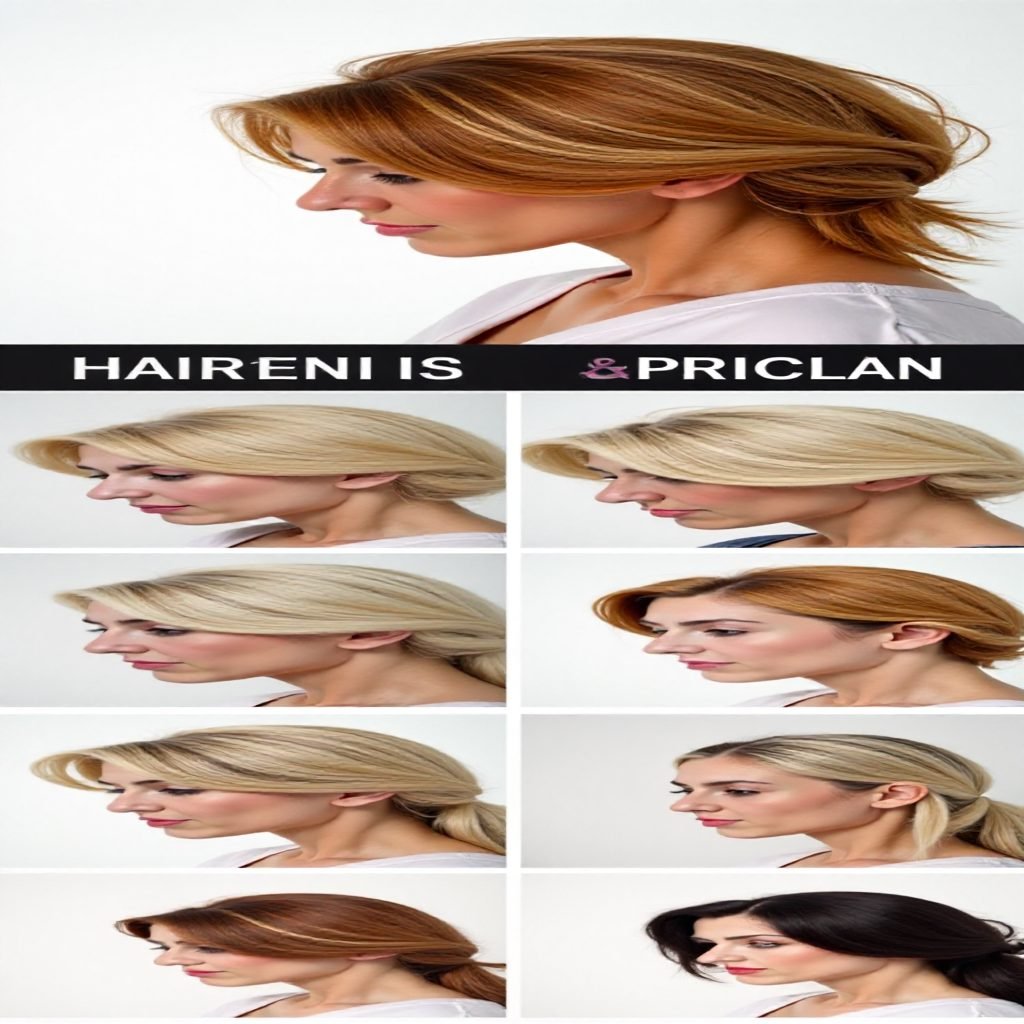
A rope twist leading into a low bun is a quick style for busy days. It looks polished without much effort. Twist each section in the same direction before wrapping it together. Then twist the two ropes around each other in the opposite direction so they lock together.
14. Messy Mermaid Braid Tutorial
Messy mermaid braids, seen on runways and at festivals, add volume without overpowering the face. The style highlights facial features nicely. Pancake the braid for fullness. Curling the hair first gives the braid extra volume, and pulling a few strands free softens the overall finish.
15. Reverse Braided Bun Tutorial
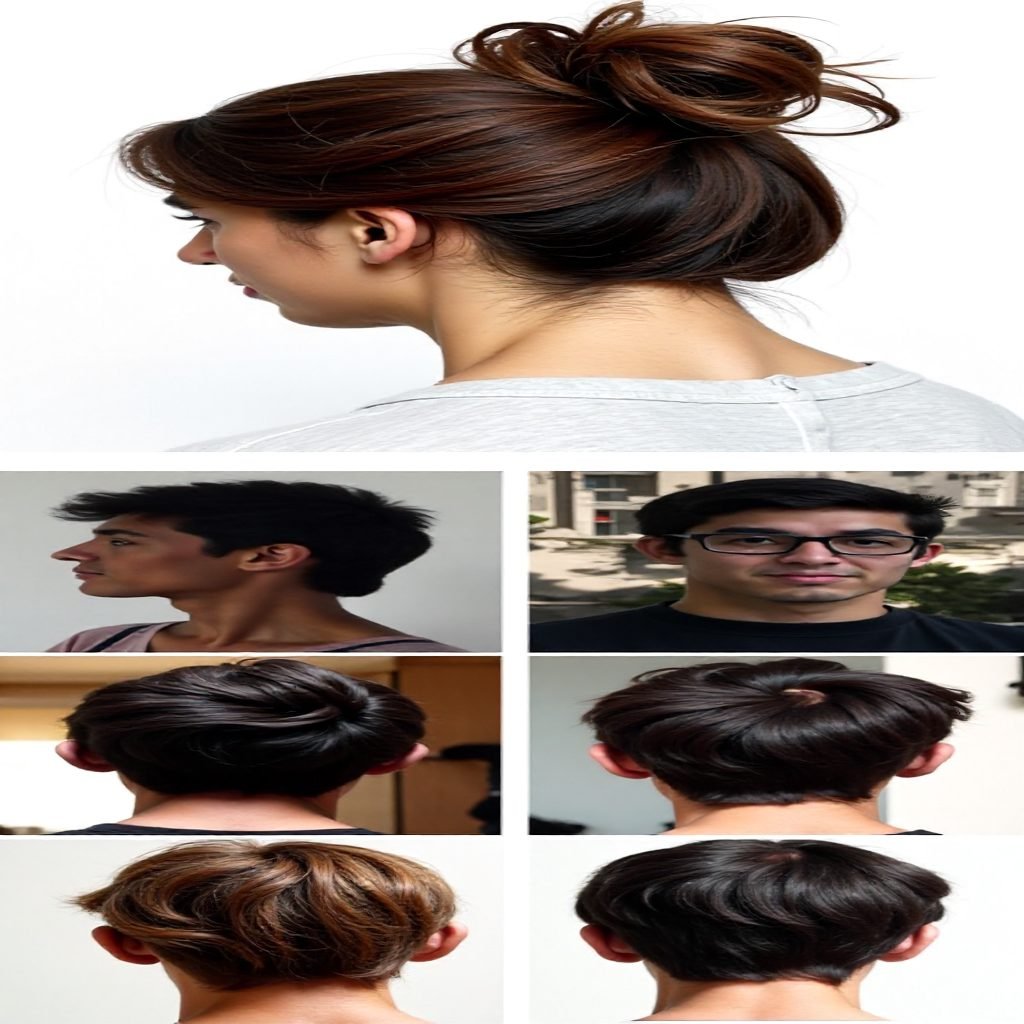
An upside-down braid at the back leads into a top knot for a fresh twist on the classic bun. It is just as easy as a regular bun but more eye-catching. Flip your head forward to braid.
Setting up for DIY styling
- Gather tools first: a tail comb, small clear elastics, bobby pins, a texturising spray and a hand mirror for checking the back.
- Practise braids on a section at the front of your head where you can see your hands.
- Lightly mist hair with texturising or sea salt spray to stop strands slipping out.
- Pull gently at the edges of finished braids to make them look thicker.
Getting messy styles to look intentional
Messy buns and loose braids still need a solid base. Secure the foundation tightly with an elastic or pins, then loosen only the outer layer. Pull out a few face-framing pieces and bend them with a curling iron if they look limp. Finish with a light hairspray held at arm’s length so the texture stays soft rather than crunchy.